Blueprinting Example - Jack Sparrow Compass (page 1 of 4)
Lets use a 'real world' example to show how blueprinting helps you out in making props and costumes.
Take the character "Jack Sparrow" from the 2003 film "Pirates of the Caribbean". He had a compass that was a major plot device in the film. Lets recreate that object.
I gather up as many reference photos and images as I can. Unfortuantely, the film is very new and I can only find a few images of the compass (below.)
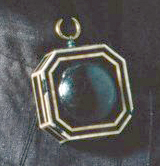
- The first image is a very nice shot of the compass in it's closed position, this image was used in an Ebay Auction of the movie prop.
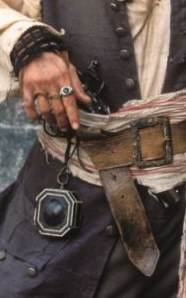
- The second image is a Press Kit shot of Jack Sparrow standing with the compass hanging from his belt.
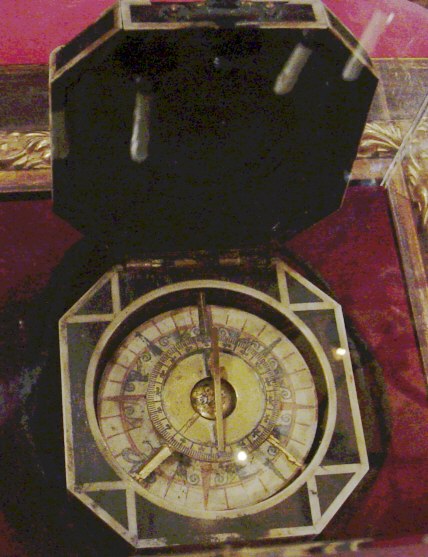
- The third, red velvet image is a fan-photo of the compass that was on display somewhere. (If you know who this image belongs to, please let me know, i would like to credit them here and ask for official permission to use this image.)
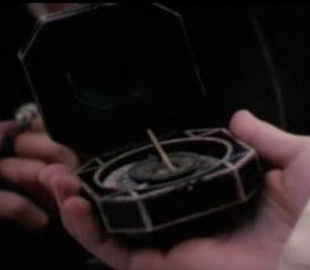
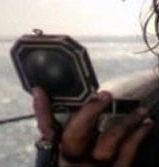
- The Fourth and fith images are screenshots of the compass from the dvd movie (these images were lifted from the amazing PotC gallery at http://kimera.shadow-dancing.net/potc01.htm ).
- The fifth and sixth images are from publicity shots sent out in Press Kits for the movie.


Before jumping in head first lets identify a scaling reference so we know that we make the prop the right size the first time.
I immediately can see that we can use the 'pointer finger' in the second photo as the scaling reference. Both the finger and the compass are perfectly angled to the camera for making a "scaling judgement" from.
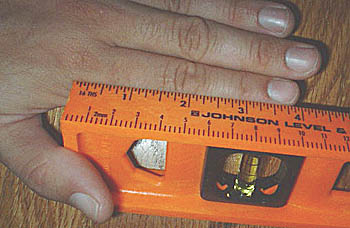
I take out my handy ruler and measure my finger from the middle of the knuckle to the tip of the finger. I deem that 4 inches is a nice approximate length for a finger (FYI - Johnny Depp's hands are about 15% smaller than my hands, so the MOVIE prop would be approximately 15% smaller than the blueprints I am about to make. We learned about Johnny's small hand size after we made this tutorial).
I'll open up Adobe® Illustrator program and make a 4 inch by 4 inch grid and I place my image on the artboard area next to the grid.
With knowing that my finger is 4 inches long, I'll englarge and rotate the image so that I scale the image to the appropriate size.
I'll slide the image under the 4x4 grid and tweak the
scaling of the image untill I am happy with it.
Now I can slide the 4X4 grid over to the compass in the image and take our measurements. I notice that the compass is off kilter to the grid so I'll need to rotate the image to line it up for recording accurate measurements.
Excellent! Now I can make accurate measurements of the photo and begin my blueprints. Notice in the image that the compass is approximately 3.5 inches tall but only 2.75 inches wide. This is due to the compass angles to the right, away from the camera. This is a good example of how 'perspective' in photos works.
The good things about this problem is that we know the compass is basically a square (as seen in the other reference photos we have). We'll go with assumption that the compass is 3.5 inches square.
The round dome, on top of the compass is 2.125 inches in diameter.
Taking the side screenshot of the compass we scale up the photo and find out the main body of the compass is .75 inches deep and the non-beveled sides are 2.1 inches wide.
While we are at it, We'll take measurements of the compass's lanyard piece.
Lets take measurements of the other things in the photo too. We just need to twist the image around and line up the items we want to measure. Namely the buttons and the belt buckle.
Notice that the buttons are approximately 1 inch round and spaced out 1 inch apart. That's nice to know from a seamstress point of view.
The buckle looks to be approximately 3 inches wide and 3.5 inches tall.
Continue to "Drawing the Blueprints"©2010 Studio Creations - All Rights Reserved