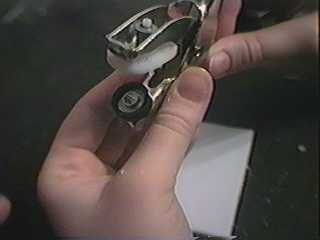
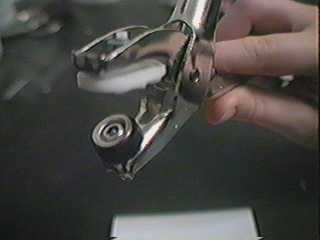
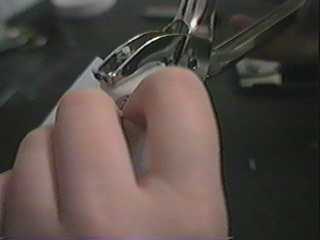
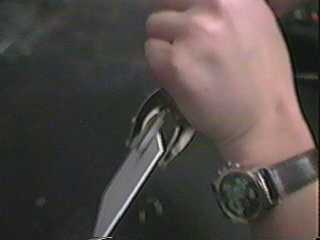
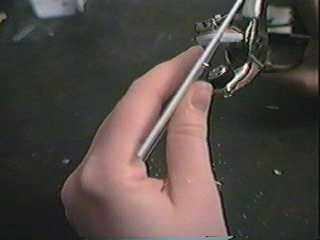
Buttoning BasicsTo attach Button Snaps to the armor I used a BUTTON gun. Basically it is a pair of pliers with special jaw attachments that hold the button parts in place while you clamp the parts together. Here's the info on the Button gun I used. |
|||
| |
|||
|
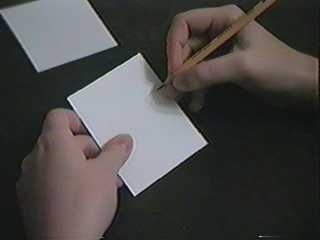
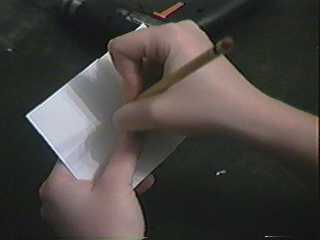
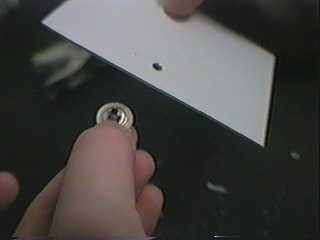
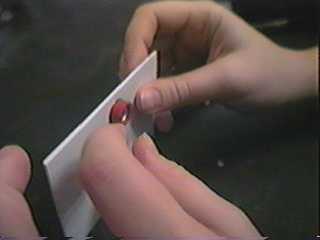
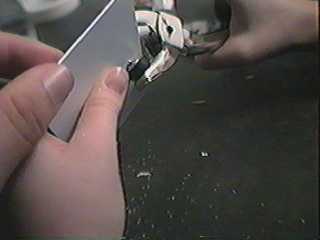
Grab the piece of plastic that you want to go on top. Mark a spot where you want the button snap to go. Keep the snap away from the edge as much as possible. | ||
| |
|||
|
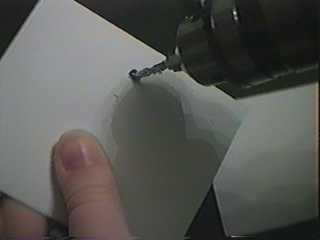
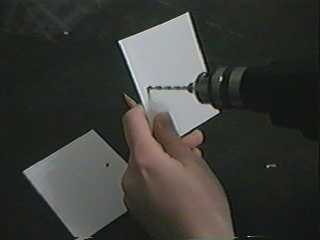
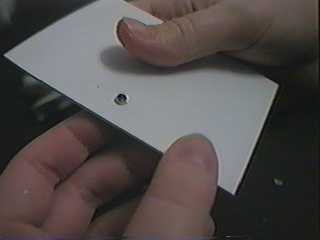
Drill the hole where you marked. The hole will need to be WIDENED out by rotating the drill around in a circular motion. this is due to the fact that I only used a 1/8 inch drill bit. I tried using a larger bit ... but I found that changing the bits just took to long... you save time by WIDENING the hole yourself. |
||
| |
|||

|
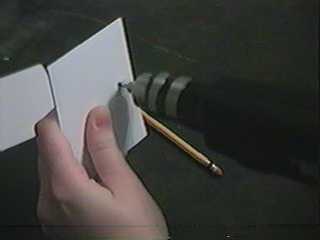
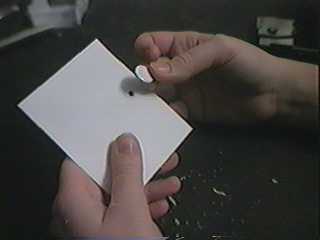
Now line up your LOWER piece of plastic where you want it to fit with the UPPER part of plastic. | ||
| |
|||
|
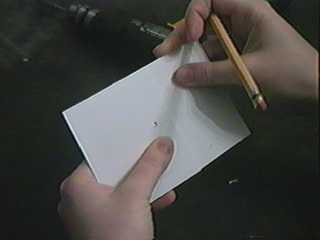
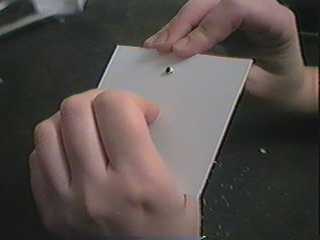
Mark the hole on the lower part of plastic. Be very - very careful not to move the plastic around and out of place while doing this. The buttons must line up very well to work well. If you know what i mean! | ||
| |
|||
|
Mark that plastic! | ||
| |
|||
|
Now drill the hole. | ||
| |
|||
|
|
Don't forget to WIDEN the hole for the button stem to go through. | ||
| |
|||
|
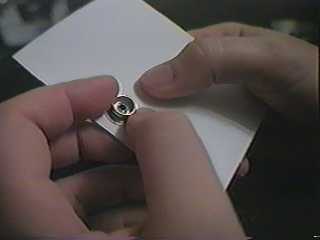
Grab the BUTTON FRONT and place it through the OUTSIDE of the UPPER PLASTIC pieces hole. Push the stem all the way through till it can go no more. | ||
| |
|||
|
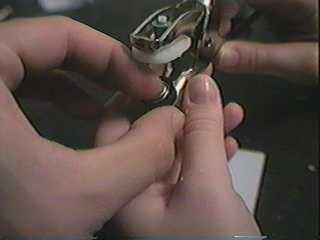
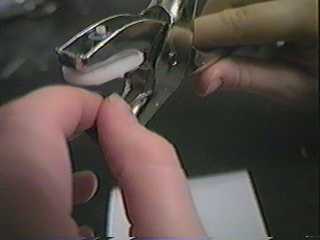
Notice here we will attempt to clamp down the FEMALE SNAP piece. | ||
| |
|||

 |
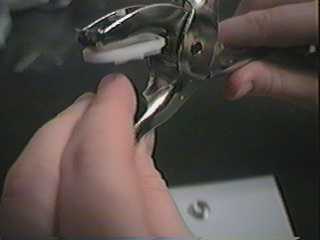
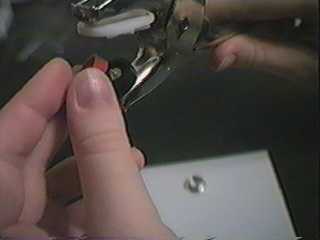
In the next few images we will show, in succession, the correct way of placing the FEMALE SNAP in to the BUTTON GUN... You just place the snap upside down into the BUTTON GUNS rubber disk... this disk will hold the snap in place while you line it up with the "protruding stem". |
||
| |
|||
|
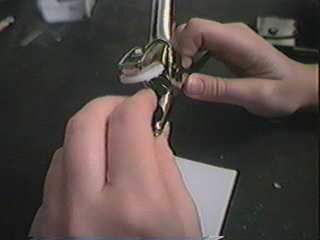
Line up the FEMALE SNAP, in the button gun, onto the protruding BUTTON FRONT stem that is in the back of the plastic. Make sure they line up perfectly... you will attempt to clamp the stem into the hole of the FEMALE snap.... This will lock the BUTTON FRONT and FEMALE SNAP onto the plastic piece. CLAMP down real hard!!! |
||
| |
|||
|
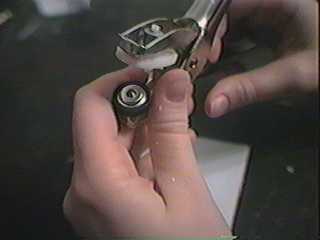
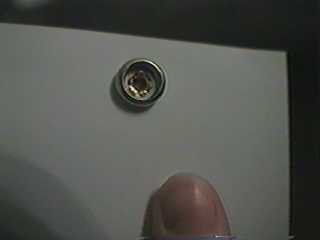
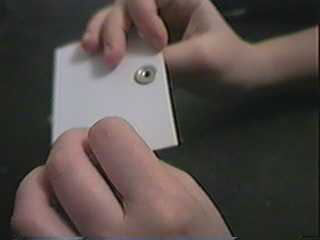
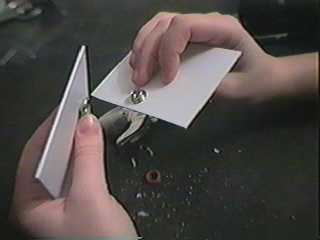
Notice the finished clamped piece. VOILA... you've just made half of a button!!!!! Now to do the other half...... | ||
| |
|||
|
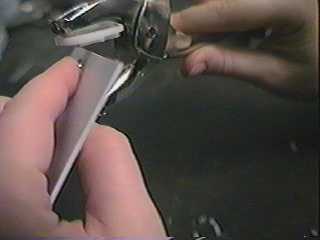
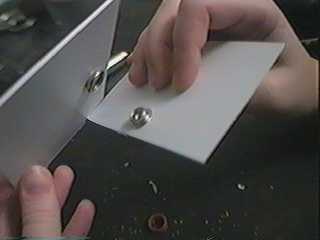
Take the Piece of plastic that will go on the bottom. Push a BACKING STEM up through the hole from the backside of the plastic. | ||
| |
|||
|
Make sure the stem extends out the top of the plastic! It needs to extend... or the next button piece will not clamp down .
......And that would be bad! |
||
| |
|||
|
Now see how the STEM comes through the MALE SNAP.... Wait a minute... thats not the MALE SNAP... thats the FEMALE SNAP... Argghhh... Just pretend that that is the MALE SNAP. | ||
| |
|||
|
HEY....Here a pict of the MALE SNAP.... | ||
| |
|||
 |
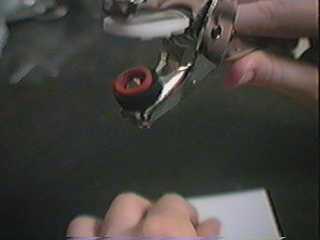
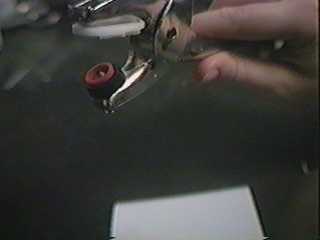
Now lets load the MALE SNAP into the rubber holding disc on the BUTTON GUN. With the FEMALE SNAP we used the pre-existing BLACK rubber disc...but for the MALE SNAP we need to add a RED disc to that to hold the SNAP. Just "POP" the red disc into the Black disc and then follow that with the MALE SNAP upside-down! After this you're ready to CLAMP that onto the Protruding stem of the BACKING STEM! |
||
| |
|||
|
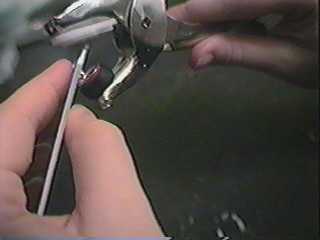
With the MALE SNAP in place line up the protruding stem with the hole in the MALE SNAP. | ||
| |
|||
|
Line it up right or the CLAMPING will go all wrong. Make sure the Stem goes INTO the hole... it needs to CLAMP down on the inside of the SNAP!!!! | ||
| |
|||
|
CLAMP IT!!!!! | ||
| |
|||
|
Clamp it tight!!!!!!! | ||
| |
|||
|
Once the clamping is finished... take off the red disc from the MALE SNAP and put it in a safe place to be used again. | ||
| |
|||
|
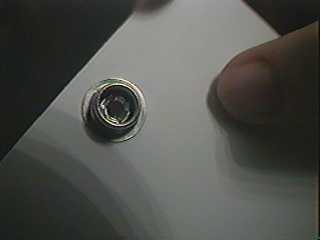
LOOk at the beauty of the finished piece!
Oooooo.....Ahhhhhh........ (chuckle chuckle) |
||
| |
|||
|
Notice the FLAIRING of the stem... This flared metal is what keeps the button parts together!!! | ||
| |
|||
|
Snap the two snaps together!!!! Test this process at least once to make sure you understand the process before doing it on the real thing!!!! |
||
| |
|||
|
THAT'S IT. YOU ARE DONE! ENJOY YOUR NEW FOUND TIME CONSUMER!!!!!! This stuff is fun... no honestly... this stuff rocks!! really it does... what dontcha trust me?.... awww come on... gimmmee a break... please... ....awwwww...............wheee.....fun...fun....fun......... |
|||
| |
|||
|
Riveting Basics Back to DH2 |
|||

©2010 Studio Creations - All Rights Reserved