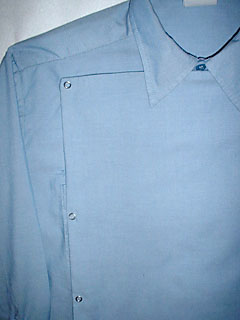
The Shirt
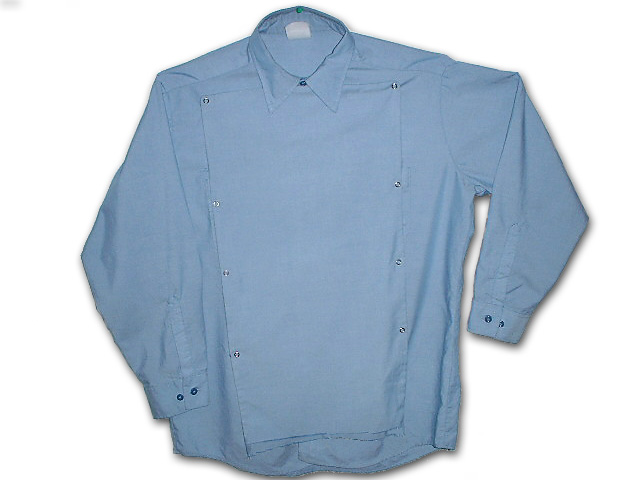
The Shirt is basically your standard light blue military collared shirt with a chest flap sewn onto the front.
The ILM screen used shirt looks to have no sleeve cuffs and no sleeve buttons, but these are really small details and probably only needs to be addressed for the costumer who needs everything to be uber-accurate. Thanks to Josh Singer for emailing us and pointing out these cuff details.
To make the chest flap I recommend you to either custom sew the entire shirt out of the same cloth, or buy three of the same shirts and sew the chest flap out of the backs from two of the shirts (We purchased military 'Chambray' shirts for our costumes). Doing this ensures that your cloth matches. We opted to buy some cheap shirts and cut them up, rather than sew a shirt from scratch.
Each Chest flap should be a custom fit to the wearer. Measure across the chest to see how wide the flap needs to be. The Flap needs to be wide enough so that the vest will cover up any buttons that you use to secure the flap to the shirt.
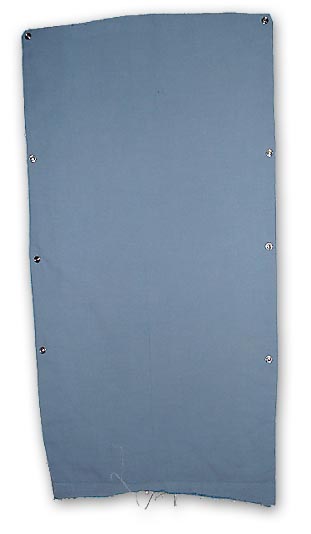
Take the two extra shirts and cut the chest flaps out of the back of the shirts. You want the chest flap to have two layers of cloth so that the middle buttons do not show through the material.
Make sure your flap is long enough to cover the entire front of the final shirt. If the flap is too short, you run the risk of the flap untucking from your pants while you are walking. :-P
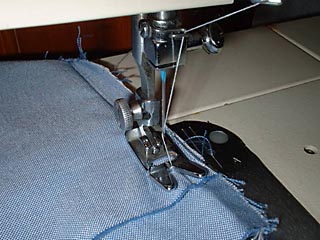
Stitch the sides and top together, leaving the bottom open.
Turn the shirt inside out and iron the seams flat.
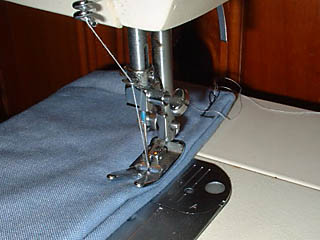
Tuck in the bottom edge and stitch the flap closed.
Now carefully place the flap on the main shirt while it's on the wearer. Along the edge of the flap pin the two items together . Have the wearer move around and test the flap for slipage or constrictive placement on the shirt.

Take the shirt off the wearer and attach snap buttons to the shirt and flap, one at a time, marking the shirt button placement as you go. You might want to have the wearer try the shirt on a couple of time as you attach the snaps, just so you get the placement of the snaps right the first time.
We used a simple snap button that you had to join two parts to make one side of the snap button. These two parts basically "sandwiched" the cloth inbetween and locked themselves together.

You will want to attach the snaps to the "opening side" of the shirt first, so you can easily test the flap snaps placement before finishing attaching snaps to the other side.
-end section